How to Attach the Device to Your Bow
The first step to start using your Steady Aim A1 archery training system is to attach the A1 device to your bow. In this article, we’ll show you how to attach the device using either the O-ring or the MagMount.
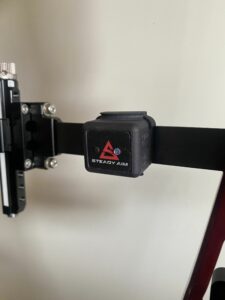
How to Attach the Device Using the O-ring Fastener #
Our O-ring fastener system is our basic attachment method that allows you to attach your A1 device to your bow sight. It is compatible with any bow that is equipped with an extendable type bow sight. Each A1 device comes with two O-rings. However, if you snap or lose your O-ring, you can easily replace it by visiting our shop here.
To attach the A1 device, simply follow these steps:
- Start by hooking one side of the O-ring into the groove on the side of the device.
- Next, place the device flush against your bow sight with the Steady Aim logo and text upright.
- Loop the other side of the O-ring over the device and hook it into the groove that is available.
- Check that the device is properly fastened by ensuring that both sides of the O-ring are fully inserted into the grooves.
How to Attach the Device Using the MagMount #
![]()
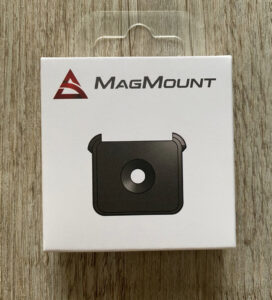
The MagMount is our magnetic attachment method that allows you to quickly and effortlessly attach the A1 device to your bow. It is an upgrade to the original attachment method, the O-ring, and allows archers using traditional or crossbows to use the A1 training system as well. The MagMount is also compatible with recurve bows and compound bows.
Each MagMount comes with an A2 stainless steel screw, a backing plate (optional), and an alcohol cleaning swab. The backing plate is only necessary for A1 devices with serial numbers 659 and down. You can find the serial number for your device in the bottom right corner on the back of your box.
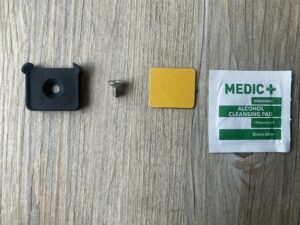
How to install the MagMount for MagMount enabled A1 devices (serial number 660 and onwards): #
1.Select a site on your bow that will allow you to secure the MagMount and A1 device to the bow in an upright position with the Steady Aim logo and text pointing upwards.
2.Place the MagMount in the selected position and fasten it to your bow using the stainless steel screw provided.
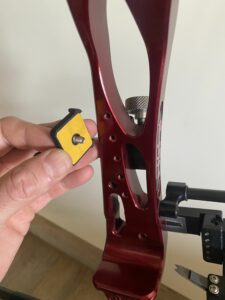
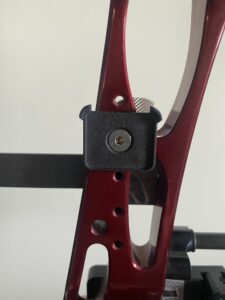
3.If you’d prefer to glue the MagMount to your bow, use the alcohol swab and clean the area of the bow where you’d like to attach the MagMount.
4.Once cleaned, remove the yellow tape from the back of the MagMount and firmly press it against the cleaned area.
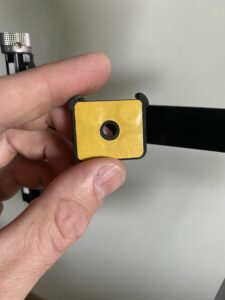
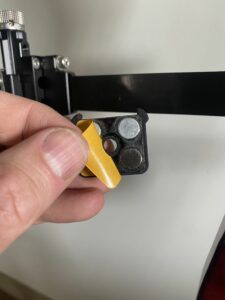
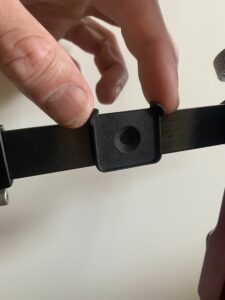
5.Allow the Pressure Sensitive Tape at least 30 minutes to reach 80% strength before using your bow. Full strength will be reached after 24 hours.
6.Once your MagMount has cured sufficiently, take your A1 device and connect it with the MagMount with the logo and text pointing upwards.
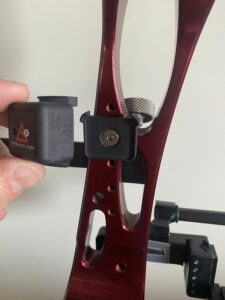
How to install the MagMount for Non-MagMount Enabled A1 devices (serial number 659 and downwards): #
1.Remove your A1 device from its packaging and completely peel away the rubber backing at the back of your device.
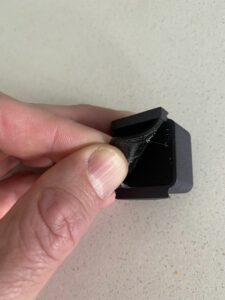
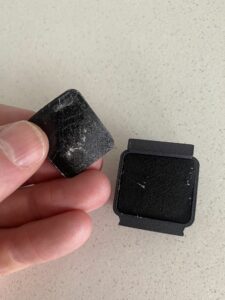
2.Clean any sticky residue from the back of the device and the rubber backing using the alcohol swab provided or another chemical agent, such as isopropyl alcohol or acetone.
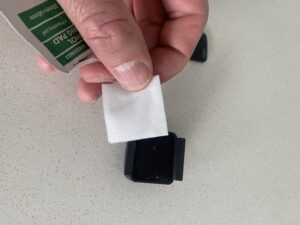
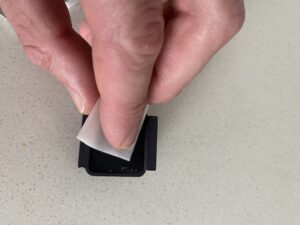
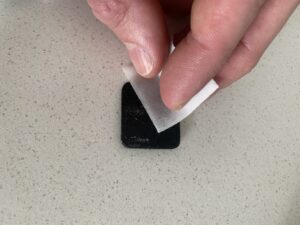
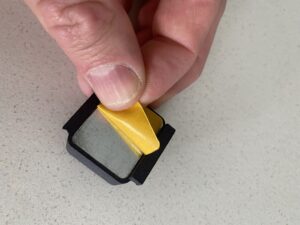
3.Peel off the transfer tape from your backing plate and place it in the recess where the backing plate was situated. Apply even pressure to secure the backing plate to the device.
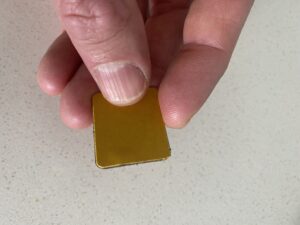
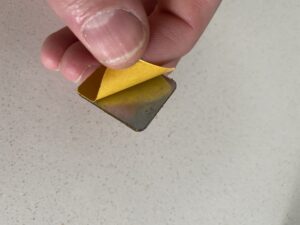
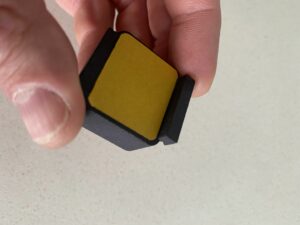
4.Next, peel off the transfer tape on the other side of the backing plate and secure the rubber backing to the freshly peeled side of the backing plate. Ensure that all edges of the rubber backing are properly aligned with the backing plate. Apply even pressure to ensure proper bonding.
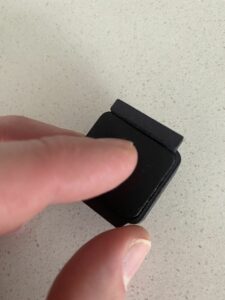
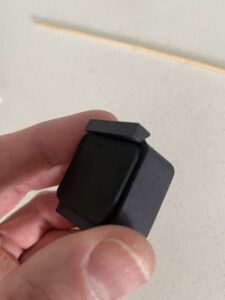
5.Allow at least 30 minutes for the Pressure Sensitive Tape to cure to 80% strength before using your bow. Full strength will be reached after 24 hours.
6.Once the backing plate has been secured to the A1 device, follow the instructions above to secure the MagMount to your bow.
Powered by BetterDocs


