Connecting the A1 Device to the Steady Aim App and Setting Up Your Bow Profile
With your device attached to your bow and your account set up, you’re well on your way to your first shooting session with the Steady Aim Archery Training System. But first, you need to connect the app to your device before you can start tracking your performance.
In this article, we’ll show you how to connect the device to the app, what to do if your device won’t connect, and how to set up your bow profile so you can start shooting.
How to Connect the Device to Your App #
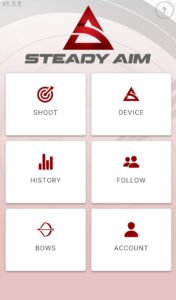
1.To start the connection process, tap on the Device tab, which can be found on the Home screen of the app. You will be prompted to turn on your Bluetooth and Location permissions for the connection to proceed.

2.Next, click the button on your A1 device and the light will flash red, indicating it is ready to connect.
3.Tap Find Devices. The app will start searching for your A1 device, which will appear on the screen once found.
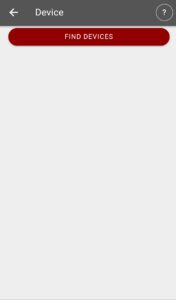
4.Tap on “New Device”, which should appear on your screen. This will start the Bluetooth pairing process.

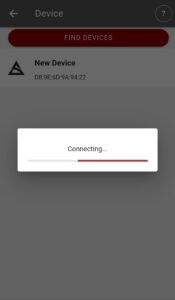
5.Now that you’ve connected the device with the app, you can calibrate the A1 device by steadying your bow, preferably with your bow on the ground, and tapping the Shoot tab on the Home screen.
6.The A1 device will automatically start calibrating and will open the Shoot screen once calibration has been completed.
Troubleshooting Connectivity Issues #
If you’re having trouble connecting your A1 device to the Steady Aim app, try the steps below until the A1 device connects.
1.Check if the light is showing on your A1 device. If the light is off, it means that the device’s battery may be flat and needs to be charged before continuing.
2.If the red light is showing but you’re still not connecting, navigate to your phone’s app settings center and find the Steady Aim app. Tap on the Steady Aim app and scroll until you find the Permissions heading. Tap the Permissions heading and ensure that the location permission is set to on. Re-open the Steady Aim app and tap the Device tab and Find Devices. Follow the rest of the steps explained in the previous section to connect to the device.
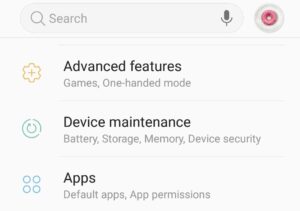

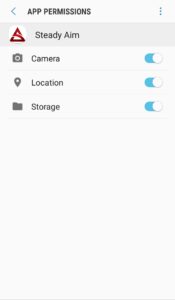
If you own an IOS device, navigate to your Settings -> Privacy-> Location Services and scroll until you find the Steady Aim app. Tap on the Steady Aim app and ensure that the permissions are set to “While Using” or “Always”.
3.If your phone’s location permission is on but it is still not connecting, navigate to your Bluetooth settings and ensure that your Bluetooth is on.
4.Re-open the Steady Aim app and follow the steps in the previous section to connect to the device.
5.If the above steps failed, force close the app or restart your phone and try the connection process again.
If you have followed the steps above and you are still unable to connect to your A1 device, please contact our support for further assistance.
How to Set Up your Bow Profiles #
With your account setup and your device connected, you’re ready to create your bow profiles to start shooting.
1.To get started, tap on the Bows tab, which can be found on the Home screen.

2.Tap the plus sign on the bottom right corner to create your new bow profile. Ideally, you want a separate profile for each of your bows, so repeat this process until each of your bows have a separate profile.
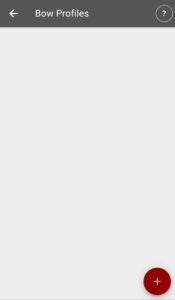
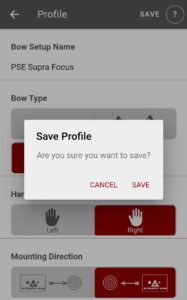
3.Enter the name of your bow and select the bow type.
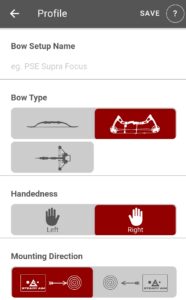
4.Next, select if you are left-handed or right-handed, and select whether your device is mounted on the left or right of your sight bar.
5.Finally, set the detection sensitivity for your bow and save your settings. The detection sensitivity is unique to each bow and is dependent on the force output produced by the bow. Bows with a higher force output (generally bows with a higher draw weight) may require a lower detection sensitivity setting, whereas bows with a lower force output will need a higher detection sensitivity to record the shot.
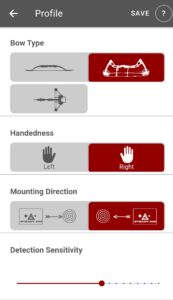
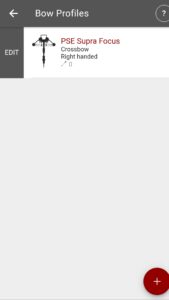
If for any reason you need to edit or delete a bow profile, navigate back to the Bows tab and swipe right to reveal and tap the Edit button, or left to reveal and tap the Delete button.

Powered by BetterDocs


